
So, the past few weeks are supposed to be considered rather busy ones for students like myself, considering that it's been finals week, and all my studio art courses are winding up. Final projects are due--paintings, photographs, sculptures, manifestos (yes, manifestos)--and so you'd think I wouldn't have any time to make cookies, let alone make more than one recipe per week. Well, that's where you're wrong, because the more work I have, the more I feel compelled to bake unnecessarily huge quantities of cookies! It's a great situation, because I can trick myself into feeling productive when in reality, I'm just...baking. I like it. And I think I am becoming Maggie Gyllenhaal's character in Stranger Than Fiction, but that's another issue entirely.
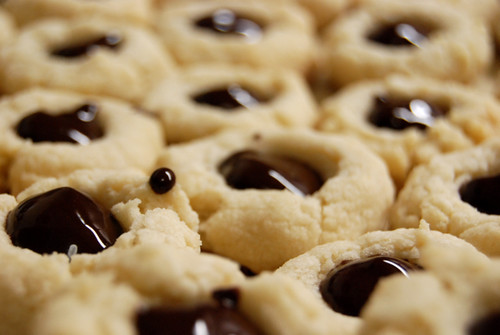
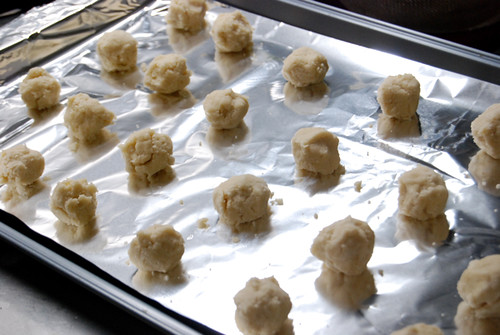
Okay, so these cookies, these thumbprints, yes. I found myself in a situation where I needed to bring cookies as a gift of sorts, and therefore I needed a recipe that produced cookies which were 1) pretty and easily transportable; 2) relatively simple/quick to make; 3) tasty to pretty much everyone. Success! These look great, taste great, everyone likes them, and they're easy.
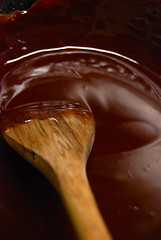
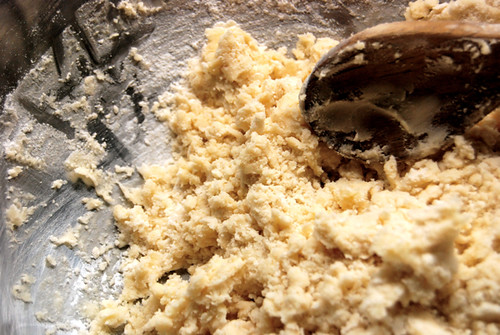
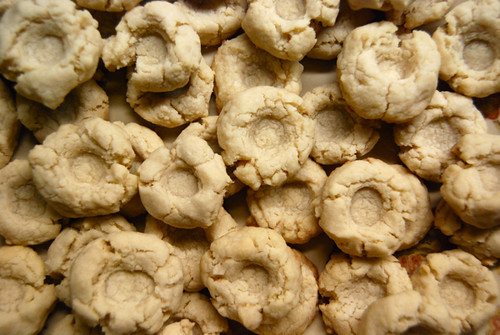
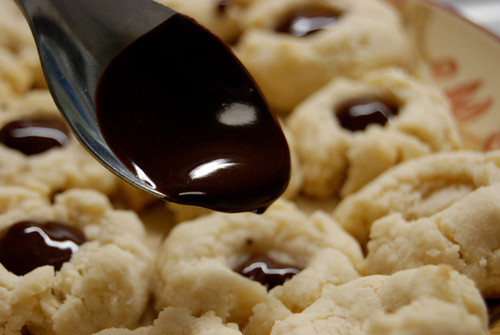
I knew that these would be winners just based on their dough because the recipe calls for only confectioners sugar, no granulated, and that tends to produce crunchy cookies that melt in your mouth in the most divine way! Furthermore, there aren't any odd ingredients (except maybe the inclusion of corn syrup), so really it's all about the chocolate you choose. That being said, I went with the big guns: Scharffen Berger.

Now, as for the actual act of "thumbprinting," it's all quite easy, barring the fact that you need to press your thumb into half-baked cookie dough straight out of the oven. I knew I would be in for some pain when Martha recommends keeping a bowl of ice water on hand so you can plunge your scalding thumb into it before getting a second degree burn. Okay, that was dramatic, but it's a little annoying, this whole procedure, but if you make sure to dip your finger into the water enough, you should be fine.
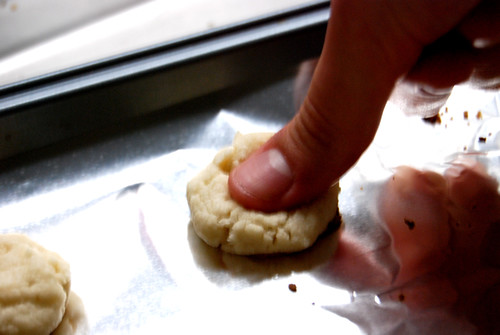
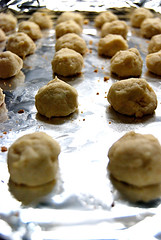
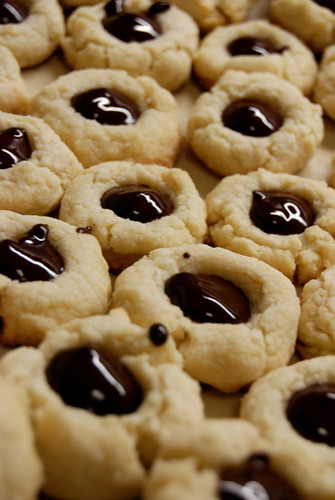
Sorry the picture is blurry; it's probably because I was trying to talk on the phone, listen to my iPod, take this photograph, and not burn the hell out of my thumb, simultaneously (and unsuccessfully)
Sorry the picture is blurry; it's probably because I was trying to talk on the phone, listen to my iPod, take this photograph, and not burn the hell out of my thumb, simultaneously (and unsuccessfully)
Oh and be sure to try a cookie at every stage of the baking process, like I did. I tried the dough (tasty!), I tried the cookies before thumbprinting them when they were in their half-baked stage (chewy!), I tried them after they were baked but before the chocolate (crunchy and yummy!), I tried them with freshly poured hot chocolate in them (divine!), and I tried them when the chocolate had hardened up (excellent!). Oh, and I tried them a few days later, and they might even improve with age. Perfect. These cookies are really fun to make, everyone likes them, and they look adorable. Plus, the recipe makes a bunch of baby-sized cookies, so they are great for parties or snacking or whatever you do.
Chocolate Thumbprints
Makes 4 1/2 dozen
Ingredients
{End Results}
Baking Difficultly: 3/5
Ingredient Accessibility: 4/5
Tastiness: 4/5
Attractiveness: 4.5/5 (True cuties)
Is it worth it?: Yes, of course!
Makes 4 1/2 dozen
Ingredients
- 1 cup (2 sticks) plus 3 tablespoons unsalted butter, room temperature
- 1 cup confectioners' sugar
- 1/4 teaspoon salt
- 2 teaspoon pure vanilla extract
- 2 1/2 cups all-purpose flour
- 3 ounces semisweet chocolate, chopped
- 1 teaspoons light corn syrup
- Heat oven to 350 degrees. In the bowl of an electric mixer fitted with the paddle attachment, beat together 2 sticks of butter, sugar, salt, and vanilla on medium-high speed until smooth, about 2 minutes. Beat in flour, beginning on low speed and increasing to medium until combined.
- Roll dough by teaspoonfuls into balls, and place 1 inch apart on an ungreased or parchment-lined baking sheet. Bake for 10 minutes, remove from oven, and press thumb into tops of cookies to make indentations. Return to oven, and bake until light brown on the edges, 7 to 9 minutes more. (If the indentations begin to lose definition, remove cookies from oven and press again.) Remove to a wire rack to cool.
- Combine chocolate, remaining 3 tablespoons butter, and corn syrup in a small heat-proof bowl. Set over a pot of simmering water; stir occasionally until melted and smooth. Allow to cool slightly. When cookies are cool, fill the thumbprints with the chocolate mixture. Cookies can be stored in single layers in airtight containers at room temperature up to 3 days.
{End Results}
Baking Difficultly: 3/5
Ingredient Accessibility: 4/5
Tastiness: 4/5
Attractiveness: 4.5/5 (True cuties)
Is it worth it?: Yes, of course!
Related Site
-Drink and Chicken Recipes
-Pork Chop Recipes online
Related Videos :below I show related videos and not so related to this article.
Title: easton signing cookie and saying no more & gotcha 7 29 2009 012
Title: 2010 08 17 shiva et cookie 012
 Suscrbete va Feed (RSS)


0 comments:
Post a Comment